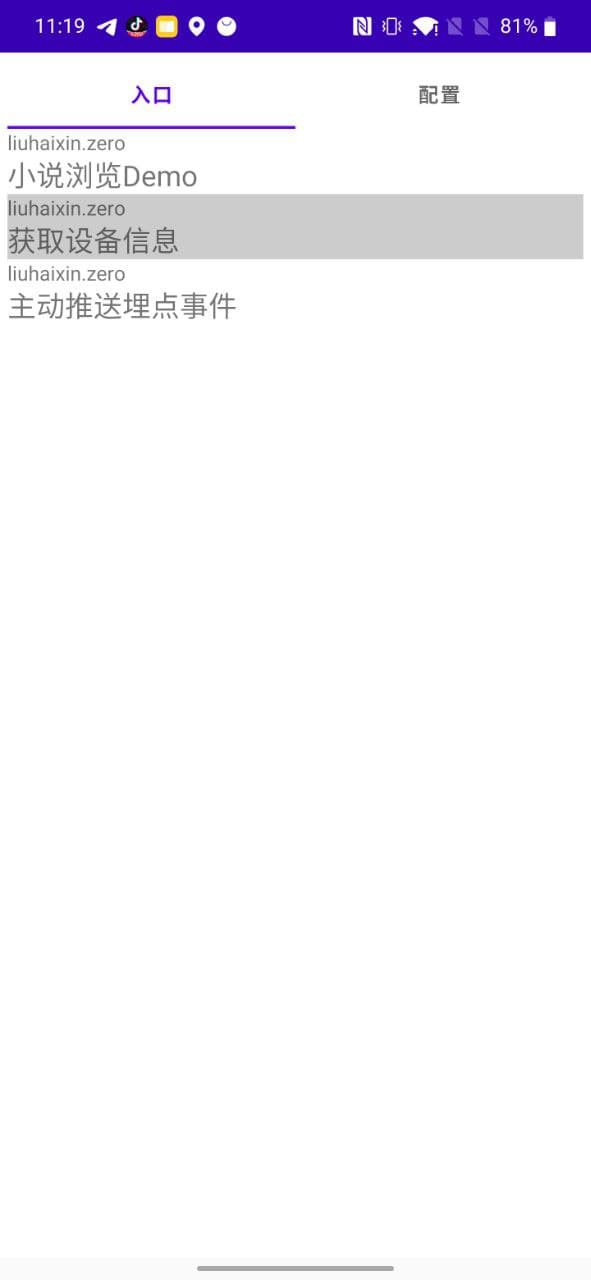
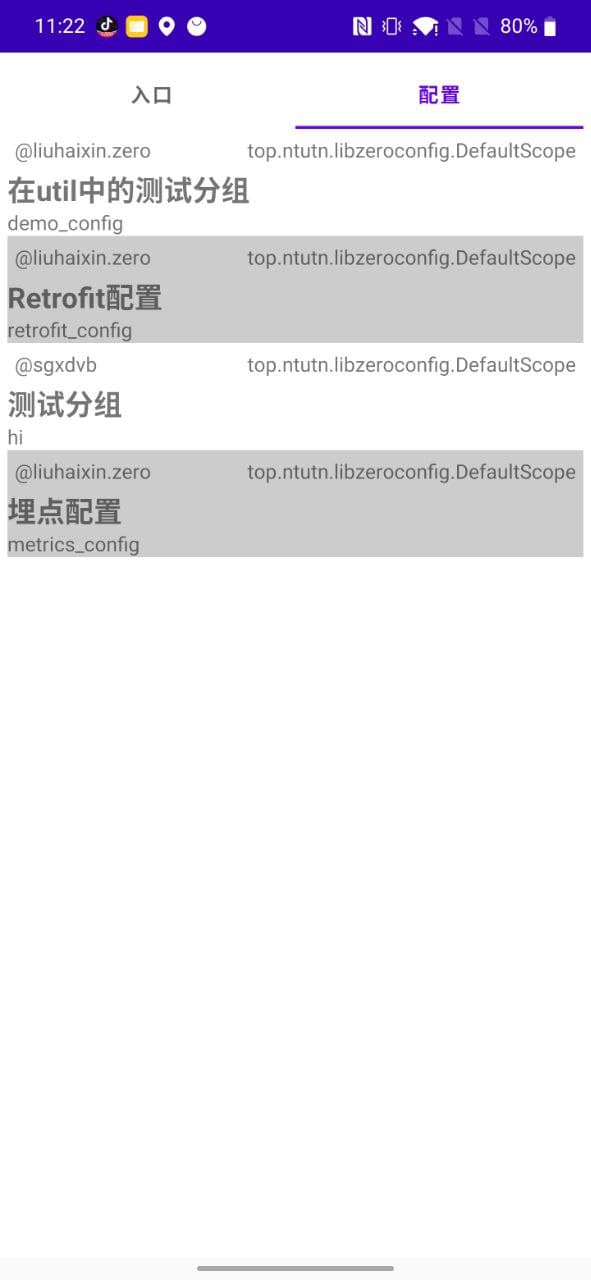
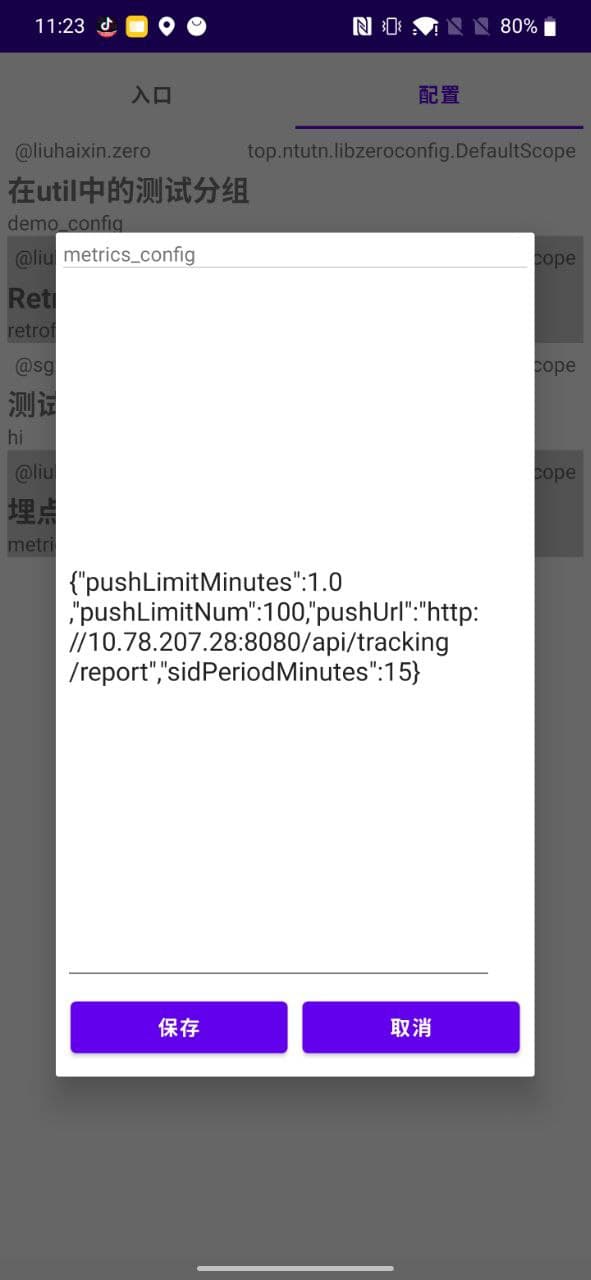
工欲善其事,必先利其器。毕设是一个相对复杂的项目了,我觉得要想顺利完成肯定是需要一些手段帮助我调试的。于是这里我准备了debug页面,主要功能就两个:提供某个功能的入口以及存储配置(最好能直接在手机上修改)
DebugEntrance
就是一个各种测试功能的入口。

这个一看实现就很简单,不细说了。
DebugConfig
因为字节自己的ABManager用着挺顺手,感觉自己项目调试时有类似这么个东西会比较舒服,于是搞了这么个东西。


使用
先看使用:
@ZeroConfig(key = "retrofit_config", title = "Retrofit配置", owner = "liuhaixin.zero")
data class RetrofitConfig(val baseUrl: String = RetrofitUtil.BASE_URL)
private val retrofitConfig by zeroConfig<RetrofitConfig>()
private val retrofit by lazy {
    Retrofit.Builder()
        .baseUrl(retrofitConfig?.baseUrl ?: BASE_URL)
        .addConverterFactory(GsonConverterFactory.create())
        .client(okHttpClient)
        .build()
}
看上去还是有点让人心动的吧。
属性委托、泛型实化
首先是一段来自菜鸟教程的描述:
属性委托指的是一个类的某个属性值不是在类中直接进行定义,而是将其托付给一个代理类,从而实现对该类属性的统一管理。
val/var <属性名>: <类型> by <表达式>
by 关键字之后的表达式就是委托, 属性的 get() 方法(以及set() 方法)将被委托给这个对象的 getValue() 和 setValue() 方法。属性委托不必实现任何接口, 但必须提供 getValue() 函数(对于 var属性,还需要 setValue() 函数)。
借助这个特征,我们可以定义这样一个委托类:
class ZeroConfigDelegate<T>(private val clazz: Class<T>) {
    operator fun getValue(thisRef: Any?, property: KProperty<*>): T? =
        ZeroConfigHelper.readConfig(clazz)
    operator fun setValue(thisRef: Any?, property: KProperty<*>, value: T?) =
        ZeroConfigHelper.saveConfig(clazz, value)
}
这样我们需要存取配置的时候只要
var config by ZeroConfigDelegate(ConfigClass::class.java)
// 存
config = ConfigClass(arg)
// 取
println(config.key1)
接下来定义一个顶级函数(我也不知道这样有啥好处,但看Kotlin库lazy函数就是这样实现的):
/**
 * 委托获取配置值
 * @param clazz 配置类型
 */
fun <T> zeroConfig(clazz: Class<T>): ZeroConfigDelegate<T> = ZeroConfigDelegate(clazz)
相对java的泛型,Kotlin还提供了一个叫做“泛型实化”的东西,可以进一步让我们上面写法更优雅:
/**
 * 委托获取配置值
 * 泛型实化,调用更方便
 */
inline fun <reified T> zeroConfig(): ZeroConfigDelegate<T> =
    zeroConfig(T::class.java)
现在调用时就是开始的那个例子那样了:
var config by zeroConfig<ConfigClass>()
// 存
config = ConfigClass(arg)
// 取
println(config.key1)
配置的存取
这里代码目前实现很简单,就是直接转换成json然后存到sp里。
fun <T> saveConfig(clazz: Class<*>, value: T) {
    bufferMap[clazz] = value
    sp.edit {
        putString(getKeyOfClass(clazz), gson.toJson(value))
    }
}
fun <T> readConfig(clazz: Class<*>): T {
    return if (bufferMap.containsKey(clazz)) {
        bufferMap[clazz]
    } else {
        val jsonString = sp.getString(getKeyOfClass(clazz), "{}")
        gson.fromJson(jsonString, clazz)
    } as T
}
注解定义
注意上面有一个getKeyOfClass(clazz),这个方法是怎么实现的?
其实如果照目前为止,只要保证定义的配置字段key互不相同就行了,那么可以直接用clazz.canonicalName。不过我们这里的需求还希望实现一个能直接在手机操作的管理界面,所以用注解去定义下配置字段相关的信息会比较好。
首先新建一个kotlin模块(注意不是安卓模块),叫做libzeroconfig,用来放我们的注解,这样后面用到的地方直接导入这个模块就行了。
参考字节的ABManager,我这样定义我的注解
package top.ntutn.libzeroconfig
import kotlin.reflect.KClass
/**
 * 标注于配置实体类之上,指定配置字段名
 * @param key 配置字段
 * @param title 配置项名(给人看的)
 * @param owner 负责人
 * @param scope 所属的业务线
 */
@Target(AnnotationTarget.CLASS)
@Retention(AnnotationRetention.SOURCE)
annotation class ZeroConfig(
    val key: String,
    val title: String = "",
    val owner: String,
    val scope: KClass<out ZeroScope> = DefaultScope::class
)
要求key和owner必须填写,title是这个配置在本地管理面板中显示的名字。一目了然。
这个注解要标在定义的配置实体类上,注意如果是data class要求所有字段都提供默认值,因为否则的话gson反射创建对象的时候会因为data class没有默认构造函数遇到问题。虽然这个问题可以通过应用kotlin-noarg插件解决,但我觉得强制要求所有配置类都提供所有字段的默认值也不错。
注解的编译期处理
Retention指定的合适,注解是可以被带到运行期间的。看springboot的一大票注解,上面指定的都是@Retention(RetentionPolicy.RUNTIME)。
但你可以注意到我上面注解定义的代码并没有这么做,安卓上大家基本都尽量不这么做。springboot可以在运行时递归扫描注解,但我们安卓手机上来说这个开销就太大了。
所以要在编译期间把这个事情(扫描注解信息)办妥,所以就要用到kapt了(安卓上此前这个事情是用annotationProcessor处理)
kapt 即 Kotlin annotation processing tool(Kotlin 注解处理工具)缩写。通过定义注解处理器可以在编译时对源代码进行检测生成额外的源文件和其他文件,之后编译生成的源文件和原来的源文件一起生成class文件。 听上去很cool的操作,使人不由自主联想到如果生成的源文件还有这个注解咋办……答案是kapt会执行多次,直到没有新的注解发现为止。虽然这对我们这个需求没啥用处。
仍然是定义一个kotlin模块,这次叫libzeroconfigcompiler吧。在这里我们定义我们的注解处理器。
其实要做的事情就两件:
- 定义一个类继承自AbstractProcessor
- 把你的类名(带包名)写到META-INF/service/javax.annotation.processing.Processor中
对于第二步,Google提供了一个叫auto service的东西可以帮我们生成这个文件,只要引入后在你的Annotation Processor类上加上@AutoService(Processor.class)就可以了。
至于这个注解处理类的实现,建议还是别看我代码了,有两个我认为很值得参考的项目:一个是前面提到的Auto Service,另一个是EventBus的注解处理器。
日志输出
fun note(message: String) {
    processingEnv.messager.printMessage(Diagnostic.Kind.NOTE, "$message\r\n")
}
// \r\n换行 https://medium.com/@cafonsomota/annotation-processor-printing-a-message-and-doing-it-in-a-new-line-1b6609e86e5c
fun warning(message: String) {
    processingEnv.messager.printMessage(Diagnostic.Kind.WARNING, "$message\r\n")
}
fun error(message: String) {
    processingEnv.messager.printMessage(Diagnostic.Kind.ERROR, "$message\r\n")
}
注意:换行要用\r\n,另外error会让编译终止
信息收集
override fun process(
    annotations: MutableSet<out TypeElement>,
    roundEnvironment: RoundEnvironment
): Boolean {
    counter++
    note("Processing round $counter, new annotations: ${annotations.isNotEmpty()}, processingOver: ${roundEnvironment.processingOver()}")
    if (roundEnvironment.processingOver() && annotations.isNotEmpty()) {
        error("Unexpected processing state: annotations still available after processing over")
        return false
    }
    if (annotations.isEmpty()) {
        return false
    }
    if (wasWrittenToFile) {
        error("Unexpected processing state: annotations still available after writing.")
        return false
    }
    // 收集数据
    roundEnvironment.getElementsAnnotatedWith(ZeroConfig::class.java).forEach { element ->
        //使用了注解的某个类
        if (element !is TypeElement) {
            error("注解只能标记在实体类上:$element")
            return false
        }
        val annotation = element.getAnnotation(ZeroConfig::class.java)
        if (!checkAnnotationValid(annotation)) return false
        classInfoMap[annotation.key] = ZeroConfigInformation(
            key = annotation.key,
            clazz = element.qualifiedName.toString(),
            title = annotation.title,
            scope = getClassFromAnnotation { annotation.scope.qualifiedName!! },
            owner = annotation.owner
        )
    }
    generateCode()
    wasWrittenToFile = true
    return true
}
要注意的其实也就是annotationProcessor会多次执行,做好处理。
通过filer写文件是不允许覆盖的,在此前我尝试用了某个有点dirty的方法绕过了这个限制,但后来看了EventBus的实现后改为了现在这个样子。 注意上面有一个
scope = getClassFromAnnotation { annotation.scope.qualifiedName!! },怎么说呢,又是一个有点dirty的实现:
/**
 * 获取annotation中的Class
 * https://www.jianshu.com/p/6822278f4771
 */
private fun getClassFromAnnotation(block: () -> String): String {
    return try {
        block()
    } catch (e: MirroredTypeException) {
        e.typeMirror.toString()
    }
}
因为定义的类还没编译,所以会抛出异常,然后在异常中拿到了这个类名……想到这个方法的人真是鬼才。
Kotlin代码生成
KotlinPoet,使用方法和javapoet类似。它原来有个slogan挺吸引我的,大意是用最美的Kotlin代码生成最美的Kotlin代码。
KotlinPoet - KotlinPoet (square.github.io)
其实我们要生成的类很简单,只拼接字符串就能完成,但用KotlinPoet显然逼格高不少。
初始化
前面步骤之后就已经生成了多个类文件了,他们形如
public class ZeroConfigHolder : IZeroConfigHolder {
  public override fun getValue(): Map<String, ZeroConfigInformation> = mapOf("metrics_config" to
      top.ntutn.libzeroconfig.ZeroConfigInformation(key="metrics_config",title="埋点配置",clazz="top.ntutn.commonutil.MetricsConfig",scope="top.ntutn.libzeroconfig.DefaultScope",owner="liuhaixin.zero"))
}
但我们还是要在启动时注册一下,这样就可以在管理面板枚举出所有配置项了。
ZeroConfigHelper.init(applicationContext)
    .addConfigHolder(top.ntutn.zeroconfigutil.ZeroConfigHolder())
    .addConfigHolder(ZeroConfigHolder())
    .addConfigHolder(top.ntutn.commonutil.ZeroConfigHolder())
管理面板
为了提供一个通用的配置编辑界面,还是准备个json的存取方式比较合理。
fun readRawConfig(key: String): String? {
    val clazz = getClassByKey(key) ?: return null
    var rawString = sp.getString(getKeyOfClass(clazz), null)
    // 正确显示配置的默认值
    if (rawString == null) {
        rawString = gson.toJson(clazz.newInstance())
    }
    return rawString
}
@Throws(ClassNotFoundException::class)
fun saveRawConfig(key: String, value: String) {
    val clazz = getClassByKey(key) ?: throw ClassNotFoundException("未找到配置项:$key")
    bufferMap.remove(clazz)
    sp.edit {
        putString(getKeyOfClass(clazz), value)
    }
}
剩下的就是准备一个配置列表和编辑界面,也没什么值得说的了。
最后修改于 2021-02-22